What is the cheapest way to make a container garden? 10 Budget-Friendly Tips for Beginners

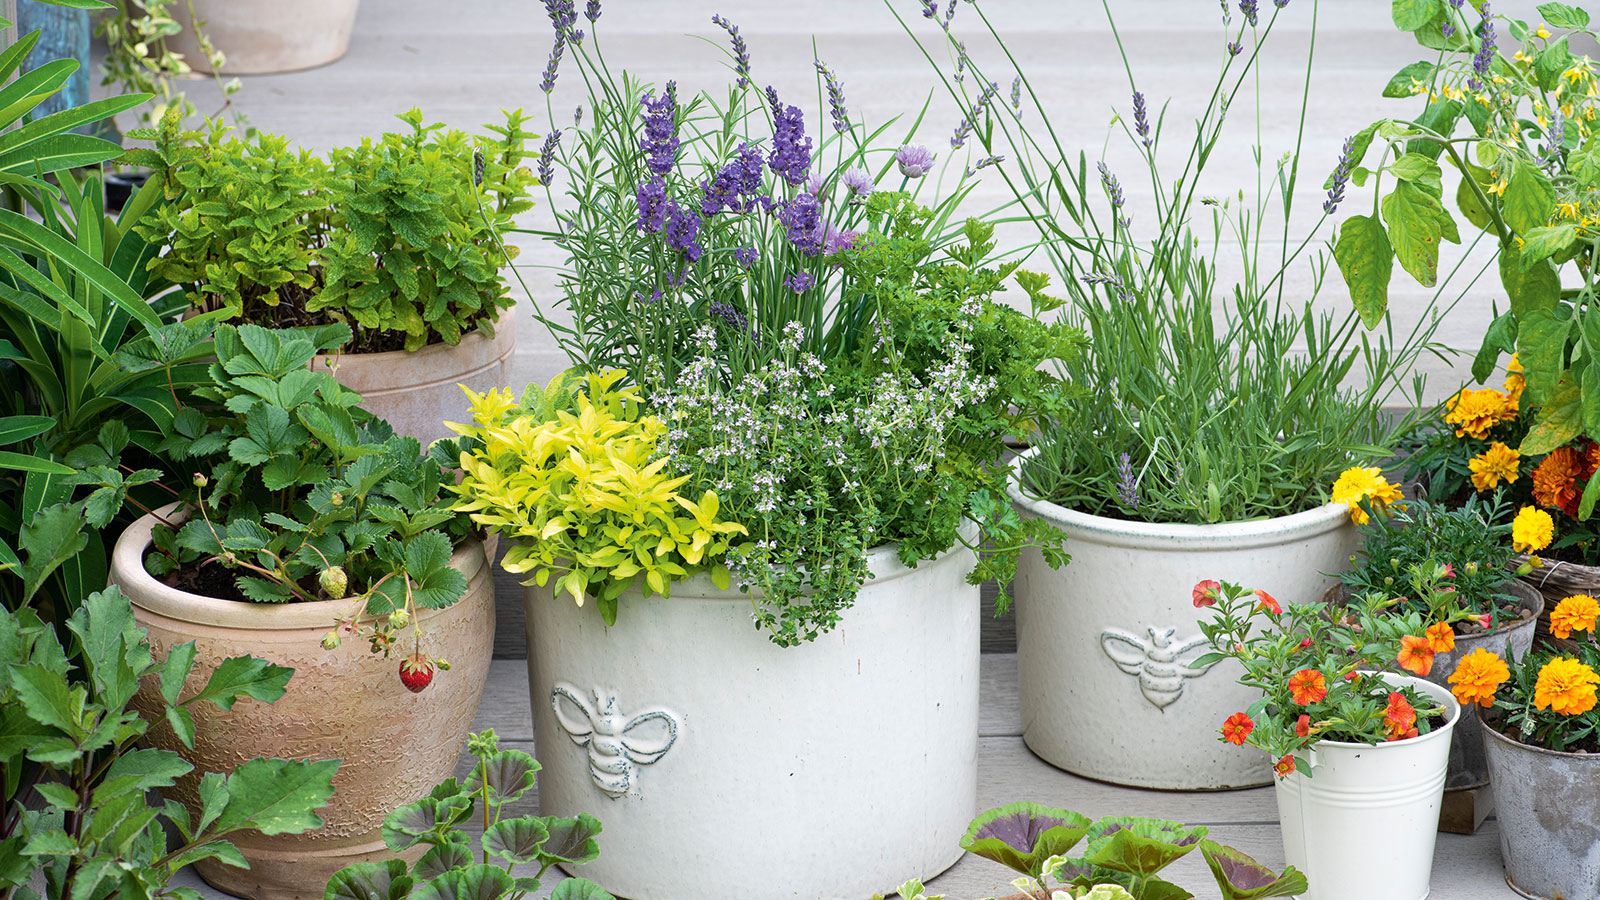
Container gardening offers a fantastic way to enjoy plants and vegetables, especially for those with limited space or budget. However, starting a container garden can sometimes seem overwhelming when it comes to costs. Fortunately, there are numerous budget-friendly strategies that make gardening accessible for everyone. In this article, we'll explore ten practical tips for beginners looking to create a thriving container garden without breaking the bank. From choosing affordable containers to sourcing cost-effective plants and soil, these insights will help you cultivate a vibrant garden while keeping your expenses in check. Get ready to dig into cost-conscious gardening!
How to Create an Affordable Container Garden
Creating a container garden on a budget involves utilizing low-cost materials and plants while maximizing space and resources. Start by repurposing everyday items like old buckets, wooden crates, or even plastic containers, ensuring they have proper drainage. Visit local garden centers to find affordable soil and seeds, or opt for starter plants which are often cheaper than fully grown ones. Additionally, consider planting herbs and vegetables you frequently use in cooking, as this can lead to substantial savings on groceries. To cut costs further, explore community gardens or plant swaps, where you can exchange plants and advice with others, making your gardening efforts both economical and community-oriented.
Choosing the Right Containers
Choosing the right containers is crucial for a successful container garden. Look for options that are budget-friendly, such as plastic buckets, old ceramic pots, or recycled materials, ensuring they have good drainage holes. The size of your containers should be based on the plants you intend to grow; larger plants will require bigger pots while smaller plants can thrive in smaller spaces. Utilizing containers with a similar aesthetic can enhance the visual appeal of your garden without additional costs, making it a great strategy for both functionality and style.
Soil and Fertilizer Options
Utilizing the right soil and fertilizer is essential for plant health but doesn’t have to break the bank. A simple mix of potting soil and organic compost can provide the nutrition your plants need while being cost-effective. Look for local options that offer bulk discounts or make your own compost from kitchen scraps to reduce costs further. Regularly check local gardening groups or community centers, as they may offer free or low-cost soil amendments throughout the gardening season.
Cost-Effective Plant Choices
When selecting plants for your container garden, opting for seeds is often a cheaper choice than purchasing pre-grown plants. Many vegetables and herbs can be grown from seeds, which can significantly reduce your start-up costs. Additionally, it’s beneficial to choose native plants or perennials, as these can adapt easily to your local climate and may return year after year, providing a sustainable gardening solution that saves you money over time.
Watering Strategies
Implementing effective watering strategies can conserve water and reduce costs associated with maintaining your container garden. Using a soaker hose or drip irrigation system can improve water efficiency and minimize waste, ensuring your plants receive the moisture they need. Another method is to collect rainwater using barrels or buckets, which can provide a free source of water for your garden. Mulching the soil surface can also help retain moisture and reduce the need for frequent watering.
Community Resources and Gardening Groups
Joining local gardening groups or online forums can open up a wealth of resources for creating a container garden on a budget. These communities often share tips, offer plant swaps, and provide opportunities to learn from experiences of fellow gardeners. Additionally, many communities host events such as seed exchanges or workshops, which can provide free seedlings or valuable knowledge without any financial investment, making gardening more accessible to everyone.
| Item | Cost | Source |
|---|---|---|
| Plastic Buckets | $1-$5 | Local stores, recycling |
| Potting Soil | $10-$15 per bag | Garden centers |
| Seeds | $2-$5 per packet | Garden centers, online |
| Compost | Free (DIY) | Kitchens, yard waste |
| Rainwater Barrels | $10-$30 | DIY, local suppliers |
What is the most common mistake made with container plants?
The most common mistake made with container plants is overwatering. Many gardeners assume that because a plant is in a pot, it requires constant moisture. However, container plants can easily suffer from waterlogged soil, which can lead to root rot and other issues. Proper watering techniques and understanding the specific needs of each plant species are crucial for maintaining healthy container plants.
Understanding Drainage Needs
Container plants require adequate drainage to thrive. A common oversight is using pots without drainage holes, which prevents excess water from escaping. To ensure your plants remain healthy, consider the following:
- Choose the right pot: Always select containers that have drainage holes.
- Use quality potting mix: A well-aerated potting mix will help retain moisture while facilitating drainage.
- Elevate pots: If you're using decorative containers, elevate the pots on blocks to promote drainage.
Watering Schedule
Many gardeners do not have a consistent watering schedule and often water their plants either too frequently or too infrequently. Establishing a proper watering routine is essential. Here are some tips:
- Check soil moisture: Insert your finger into the soil to determine if it feels dry before watering.
- Water deeply: Ensure the water reaches the roots by soaking the soil thoroughly.
- Avoid scheduled watering: Adjust your watering based on weather conditions and seasonal changes.
Choosing the Right Plant
Selecting plants that are suitable for container growth is vital for success. Some plants do not thrive well in pots, leading to disappointment. Consider these points:
- Research plant requirements: Understand light, soil, and moisture needs before selecting plants.
- Opt for compact varieties: Choose dwarf or naturally smaller species that are better suited for containers.
- Mix plants wisely: Group plants that share similar care requirements for harmonious growth.
Fertilization Practices
Another common mistake is neglecting or over-fertilizing container plants. Containerized plants rely on you for nutrients, making proper fertilization crucial. Here are some guidelines:
- Use slow-release fertilizers: Opt for fertilizers that provide nutrients over time instead of a quick burst.
- Follow package instructions: Adhere to the recommended dosage to avoid nutrient burn.
- Monitor growth: Adjust fertilization based on the health and growth rate of your plants.
Pest and Disease Management
Container plants are susceptible to pests and diseases, often due to conditions created by overwatering or poor air circulation. Effective management is key. Consider the following:
See also:
- Inspect regularly: Check for signs of infestation or disease on a weekly basis.
- Maintain cleanliness: Remove dead leaves and debris to prevent attractants for pests.
- Use natural solutions: Implement organic pest control measures like neem oil or insecticidal soap.
What can I use cheaply for planters?
When it comes to finding inexpensive materials for planters, there are several options available that can help you create beautiful and functional planting solutions without breaking the bank. Here are some ideas to consider:
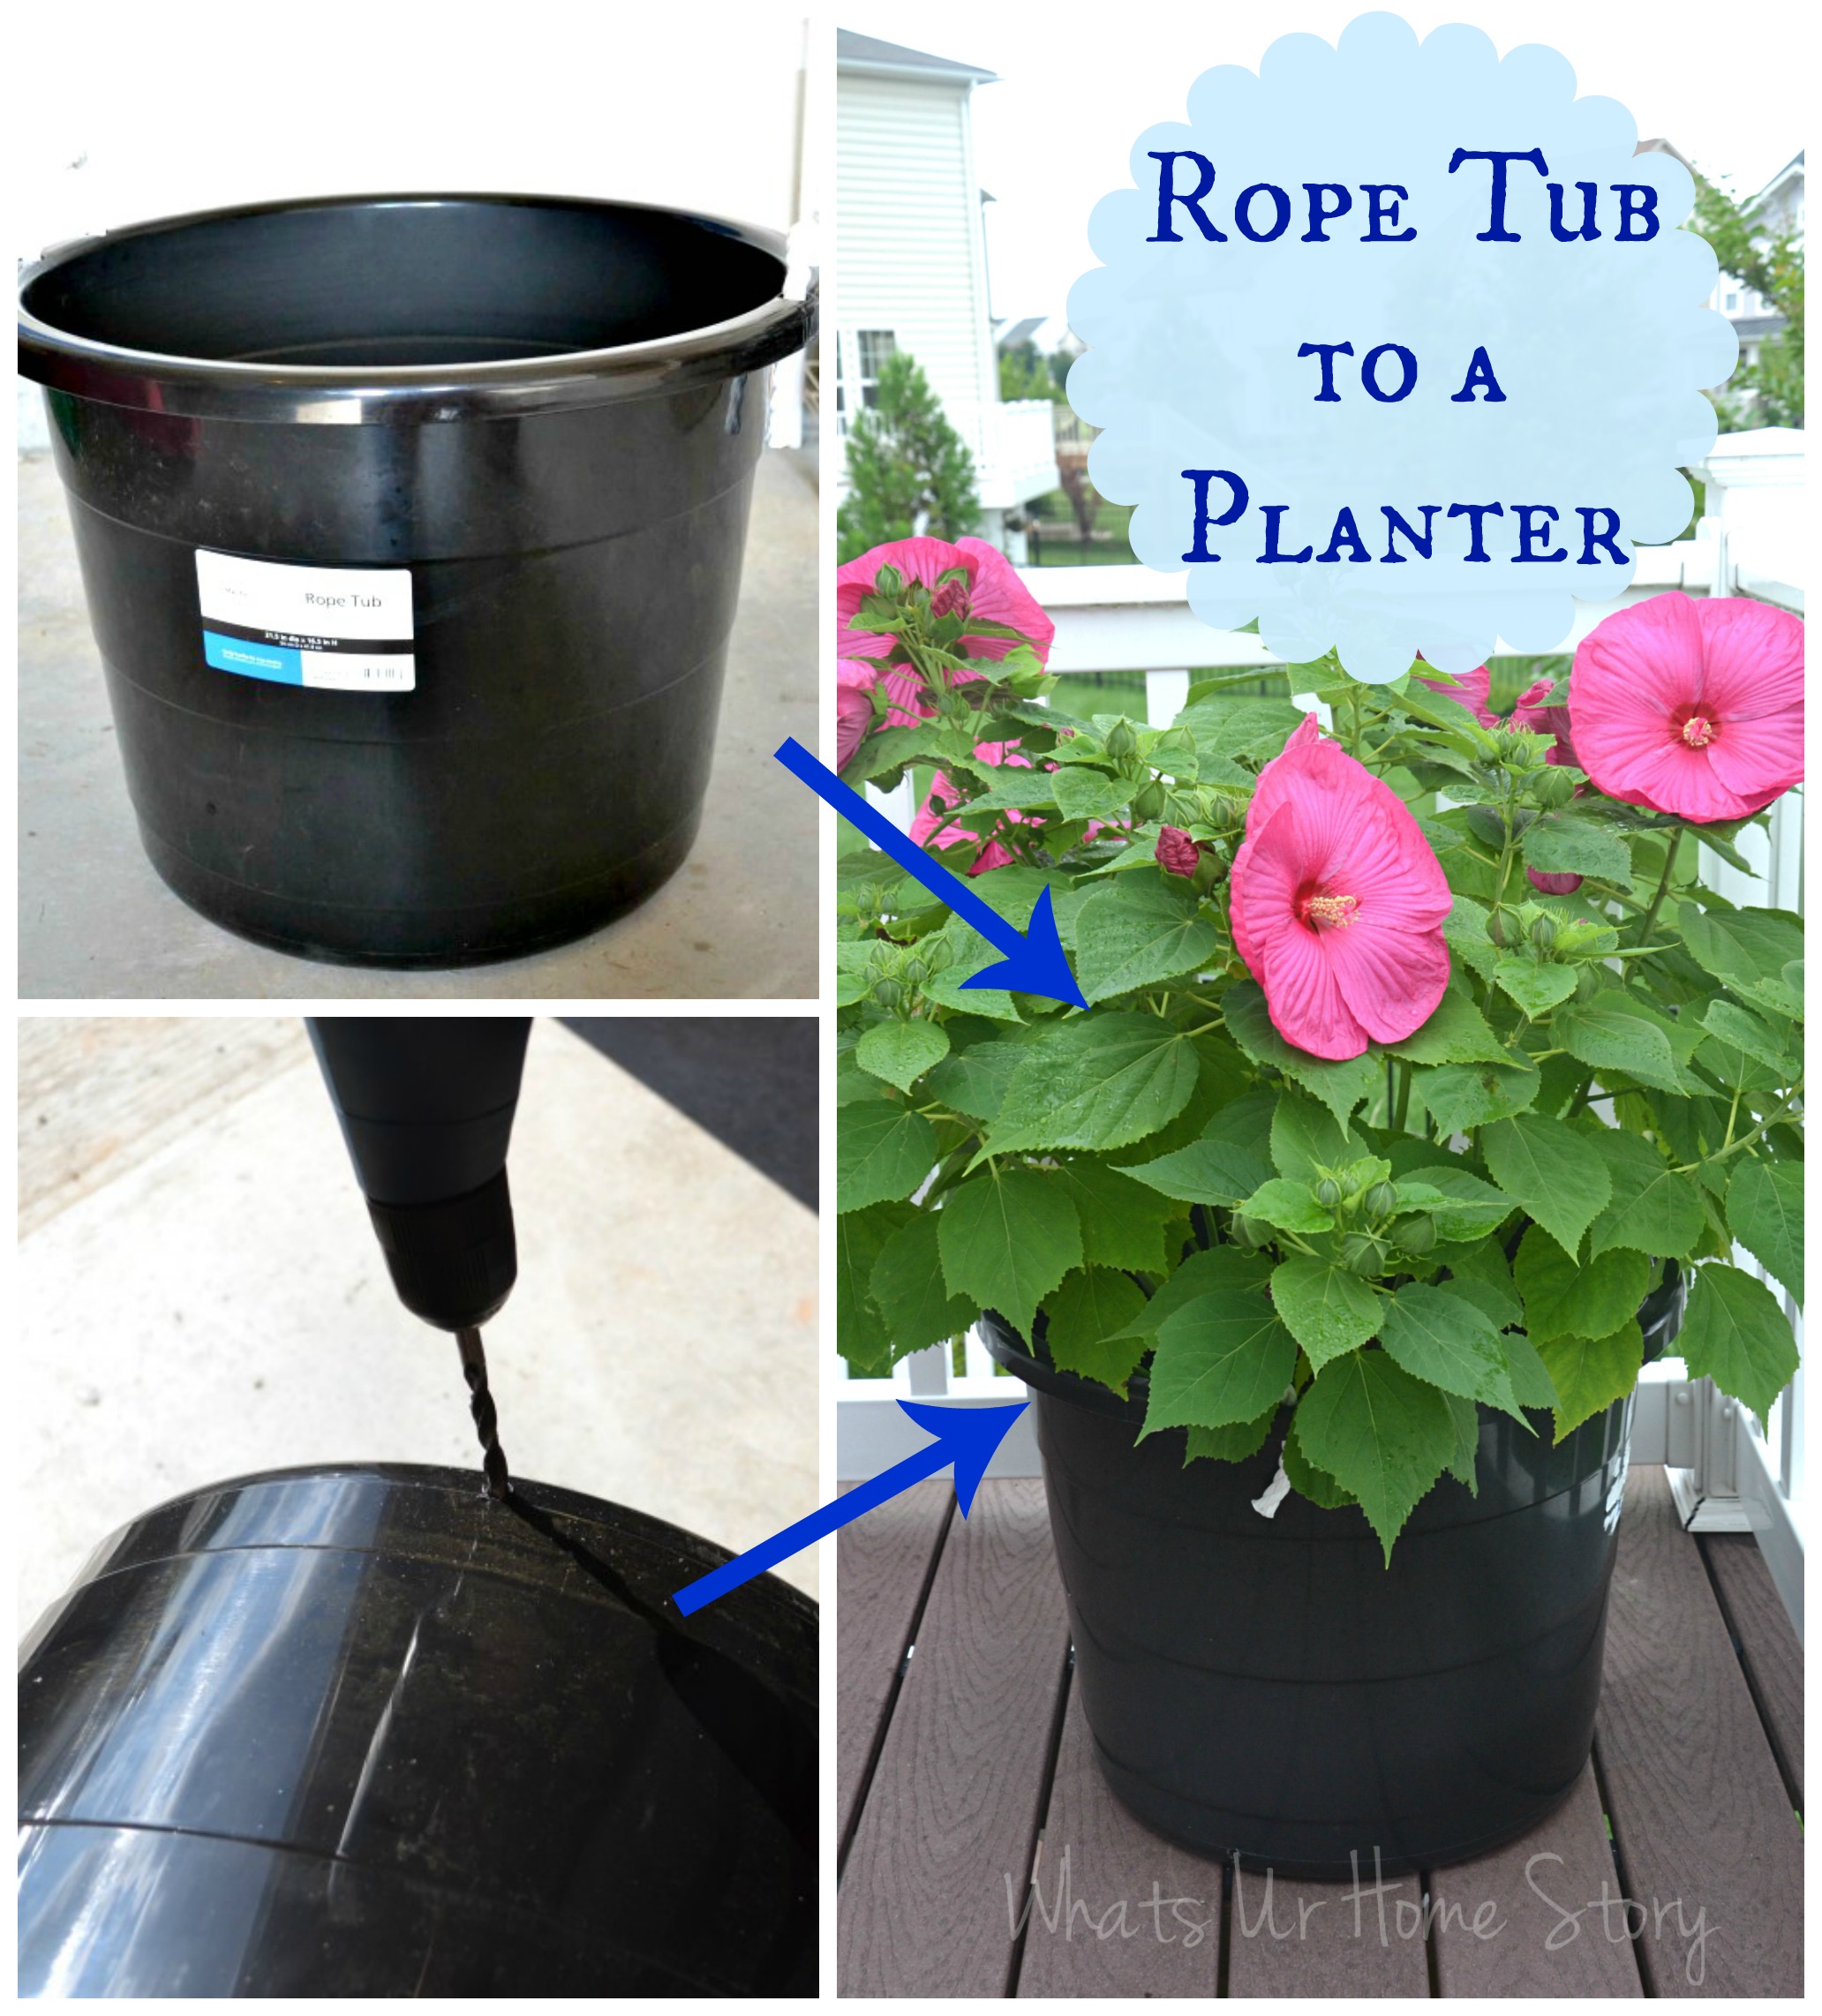
Repurposed Containers
Repurposing containers is an excellent way to save money while being environmentally friendly. Many household items can be transformed into planters, which adds a unique touch to your garden or balcony.
- Old buckets: Metal or plastic buckets can hold soil and drain well if holes are added at the bottom. They come in various sizes, making them suitable for different types of plants.
- Shoe organizers: Hanging shoe organizers can be used to plant flowers or herbs vertically, saving space and creating an attractive display.
- Tea tins or coffee cans: After cleaning, these containers can be painted or decorated and used for small plants or herb gardens.
Wooden Pallets
Wooden pallets are often available for free or at a low cost from local stores or warehouses. They can be easily transformed into raised beds or vertical planters.
- Raised beds: By stacking pallets and filling them with soil, you can create a raised garden bed that is perfect for growing vegetables.
- Vertical gardens: Pallets can be set upright and filled with soil in the slats to create vertical gardens, ideal for small spaces.
- Decorative accents: Sanded and painted pallets can serve as attractive backdrops for climbing plants or decorative displays.
Cardboard Boxes
Cardboard boxes can be used temporarily for planters, especially if you're starting seedlings. They are cheap and readily available, making them an easy option.
- Seed starting trays: Cut and shape cardboard boxes into smaller sections to create seed starting trays, reducing waste in the process.
- Planters for shallow-rooted plants: As long as the box is lined with plastic, it can hold soil for plants with less root depth.
- Composting material: After they decompose, cardboard boxes contribute organic matter back to the soil, enriching it for future planting.
Plastic Bottles
Recycling plastic bottles can offer a low-cost way to create individual planters or self-watering systems.
- Self-watering planters: Cutting a bottle in half can create a self-watering planter when the top section is inserted into the bottom.
- Vertical planters: Hanging up several bottles can create a unique vertical garden, saving ground space while adding visual interest.
- Small herb gardens: Smaller bottles can serve as individual planters for herbs or small flowers, easily placed on windowsills.
Concrete Blocks
Concrete blocks are durable and can be used for creating planters as well as decorative garden features.
- Planter borders: Arranging concrete blocks to form borders can create defined planter areas in your garden.
- Built-in planters: The holes in the blocks can be filled with soil for planting flowers or succulents while providing structural support.
- Stackable options: Concrete blocks can be stacked or arranged in various designs, allowing for creative planter shapes and layouts.
What do you put in the bottom of a container garden?
:max_bytes(150000):strip_icc()/27625_FernswithCarmen__107w_preview-00e0c0a736b54d76b8a4742e27089e32.jpg)
To ensure a successful container garden, it is essential to understand what to place at the bottom of the container. The bottom layer of a container garden not only promotes healthy plant growth but also enhances drainage and keeps the soil conditions optimal. Here are some materials commonly used for this purpose:
Drainage Materials
Using drainage materials at the bottom of your container is crucial for preventing waterlogging. These materials facilitate proper water movement, preventing roots from sitting in water, which can lead to rot.
- Gravel: Small stones or gravel can be used to allow water to flow easily while providing a sturdy base.
- Pebbles: Using pebbles enhances drainage and gives a natural aesthetic to your container.
- Clay Balls: Lightweight clay balls also promote drainage and aeration, making them an excellent option.
Landscape Fabric
A layer of landscape fabric or a similar breathable material can be placed at the bottom of the container. This fabric prevents the soil from falling out while still allowing water to pass through.
- Soil Retention: It retains soil but keeps it well-drained, essential for root health.
- Prevention of Clogging: The fabric avoids clogging of drainage holes, ensuring consistent drainage.
- Easy to Replace: If needed, landscape fabric can be easily replaced without disturbing the entire setup.
Activated Charcoal
Incorporating activated charcoal into the bottom of your container can improve the overall health of the plants. It helps absorb excess moisture and odors, promoting a fresher growing environment.
- Odor Control: Activated charcoal effectively neutralizes unpleasant odors.
- Soil Conditioning: It can enrich the soil by maintaining an optimal moisture level.
- Pest Deterrent: Charcoal can deter pests that might be attracted to overly moist conditions.
Rock Mulch
Layering rock mulch like small river rocks can also serve as a great addition at the bottom of a container garden. This provides excellent drainage capabilities and adds a decorative touch.
- Heat Retention: Rocks can help retain heat, benefiting plants during cooler nights.
- Stability: A rock base offers stability to the growing medium, helping to support the structures.
- Aesthetic Appeal: River rocks or decorative stones enhance the overall look of your container garden.
Compost and Organic Matter
Integrating a mix of compost and organic matter helps in enriching the soil. Although it’s typically placed in the center, a thin layer at the bottom can boost biological activity.
See also:
- Nutrient Supply: It provides a steady supply of nutrients as it breaks down.
- Microbial Activity: Enhances beneficial microbial life, important for plant health.
- Water Retention: Organic matter can help retain some moisture, balancing drainage and soaking.
Do I need to change the compost in my pots every year?

You do not necessarily need to change the compost in your pots every year. However, there are a few factors to consider that may influence whether you should refresh your compost annually:
1. Nutrient Depletion: Over time, the nutrients in the compost can become depleted. If your plants are growing well and producing healthy blooms or vegetables, you may not need to replace the entire compost, but it might be beneficial to top up the existing compost with new material to ensure continued nutrient availability.
2. Soil Structure: Compost can break down over time, potentially leading to a less favorable structure that hampers drainage and aeration. If you notice that the soil appears compacted or waterlogged, it might be a sign that you need to replace the compost to restore optimal soil conditions.
3. Pest and Disease Management: If you have had issues with pests or diseases in your plants, it might be a good idea to change out the compost. This can help eliminate any remnants of pests or pathogens that may be lingering in the old material, thus improving the health of your plants.
4. Plant Rotation: If you are changing the types of plants in your pots, especially from heavy feeders to lighter feeders or vice versa, changing the compost can help to provide the appropriate nutrients specific to the new plants’ requirements. This helps in maintaining a balanced nutrient profile in the soil.
5. Container Size and Root Growth: As plants grow, their root systems may outgrow the pot, utilizing the available nutrients more rapidly. If you notice that your plants are root-bound or struggling, it may be time to refresh the compost, or even consider moving to a larger container with fresh soil.
Signs You Need to Change Your Compost
It is important to be able to identify signs that indicate it might be time to change the compost in your pots. Here are some key indicators:
- Stagnation in Growth: If your plants are growing slowly or not producing as they usually do, it can signal depleted nutrients.
- Pests and Diseases: Recurrent pest problems or diseases may suggest that the compost needs to be renewed to eliminate any pathogens.
- Soil Compaction: Checking for hard, compacted soil can indicate that the structure needs to be refreshed to facilitate proper drainage.
Best Practices for Compost Renewal
To ensure your plants thrive, following best practices when renewing compost can help maximize their health. Consider the following:
- Test Your Soil: Before changing compost, consider testing your soil to understand nutrient levels.
- Top Off or Replace: Depending on the health of your plants, you can either top off with new compost or fully replace it.
- Mix in New Materials: Mixing in some new organic matter can enhance the nutrient profile of the existing compost.
Types of Compost Suitable for Pots
When it comes to choosing compost for your pots, understanding the types available can be beneficial. Here are some types to consider:
- Potting Mix: Specifically formulated for container gardening, offering good drainage and nutrients.
- Organic Compost: Made from natural materials, it enhances soil health and structure.
- Specialty Mixes: Opt for mixes that cater to specific plant needs, such as cacti or orchids.
The Role of Mulching
Mulching can be an effective strategy alongside compost management to improve plant health in pots. Here’s how:
- Moisture Retention: Mulch helps retain moisture in the soil, reducing the need for frequent watering.
- Weed Suppression: It gives added control over weeds, which can compete with your plants for nutrients.
- Temperature Regulation: Mulch can help moderate the soil temperature, ensuring optimal growing conditions.
Environmental Considerations
Changing compost in your pots may also raise some environmental concerns worth considering. These include:
- Waste Generation: Consider composting your old compost if it's not overly disease-ridden, turning waste into a beneficial resource.
- Resource Usage: Be mindful of the materials you choose for new compost to support sustainable gardening practices.
- Biodiversity Support: Using organic compost can enhance biodiversity in your pots, supporting beneficial microorganisms and earthworms.
Questions from Our Readers
What materials do I need for a container garden?
To start a container garden on a budget, you'll need inexpensive containers, such as old buckets, plastic pots, or even recycled materials like wood pallets. It's essential to ensure that your containers have drainage holes to prevent waterlogging. You'll also need potting soil, which can be bought in bulk for savings, and the seeds or plants you want to grow, focusing on low-cost options or even starting from seeds.
How can I save money on soil and fertilizer?
You can save on soil and fertilizer by making your own compost from kitchen scraps and yard waste, which can improve the quality of your potting mix without the expense of store-bought fertilizers. Additionally, look for bulk purchasing options at garden centers or co-ops, which often provide better pricing than smaller bags. Using organic materials like coffee grounds or eggshells can also enrich your soil for free.
See also: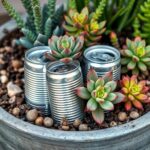
What plants are best for a budget container garden?
For a cost-effective container garden, choose fast-growing and high-yield crops such as herbs, lettuce, or radishes. These plants not only thrive in containers but can also provide multiple harvests throughout the season, giving you more value for your money. Opting for perennials like chives or strawberries can also save you money in the long run, as they come back year after year.
Are there any tips for DIY container gardening?
Absolutely! To create a budget-friendly container garden, consider DIY projects like painting or decorating reused containers to suit your style. You can also build your own raised containers using reclaimed wood or cinder blocks to minimize costs. Utilizing drip irrigation systems or self-watering containers can help conserve water and reduce the need for constant maintenance, further enhancing your gardening experience on a budget.

If you want to read more articles like What is the cheapest way to make a container garden? 10 Budget-Friendly Tips for Beginners, we recommend you check out our Planter category.
Leave a Reply
Related Articles