Ultimate Guide on How to Plant a Geranium Cutting: Step-by-Step Instructions for Success
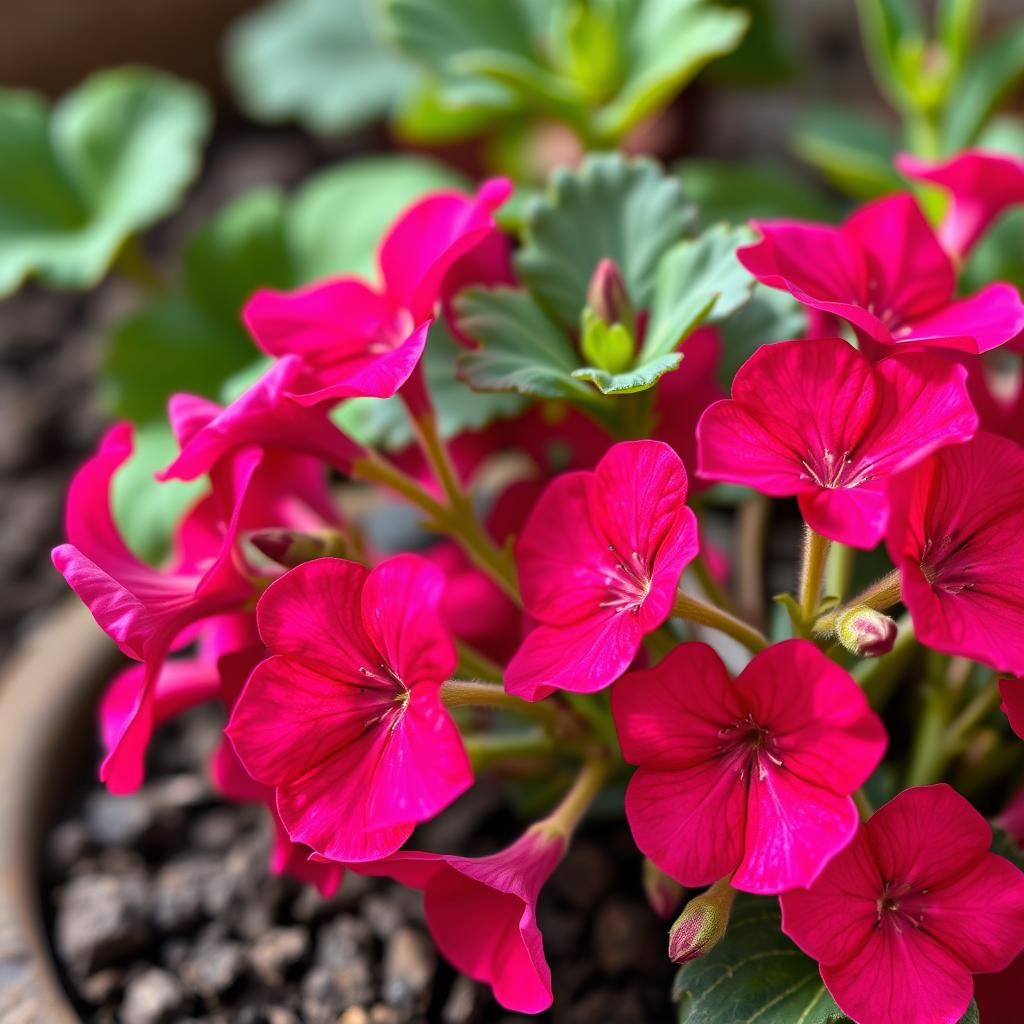
Geraniums are beloved for their vibrant colors and ability to thrive in various environments, making them a popular choice for gardens and home decor alike. Propagating geraniums from cuttings is a rewarding process that allows gardeners to expand their collection without the need for seeds. This ultimate guide provides step-by-step instructions to ensure your geranium cuttings root successfully and flourish into beautiful plants. From selecting the right cutting to the ideal planting techniques, we’ll cover everything you need to know to achieve success in planting geranium cuttings. Let’s dive into the art of geranium propagation!
How to Successfully Plant a Geranium Cutting
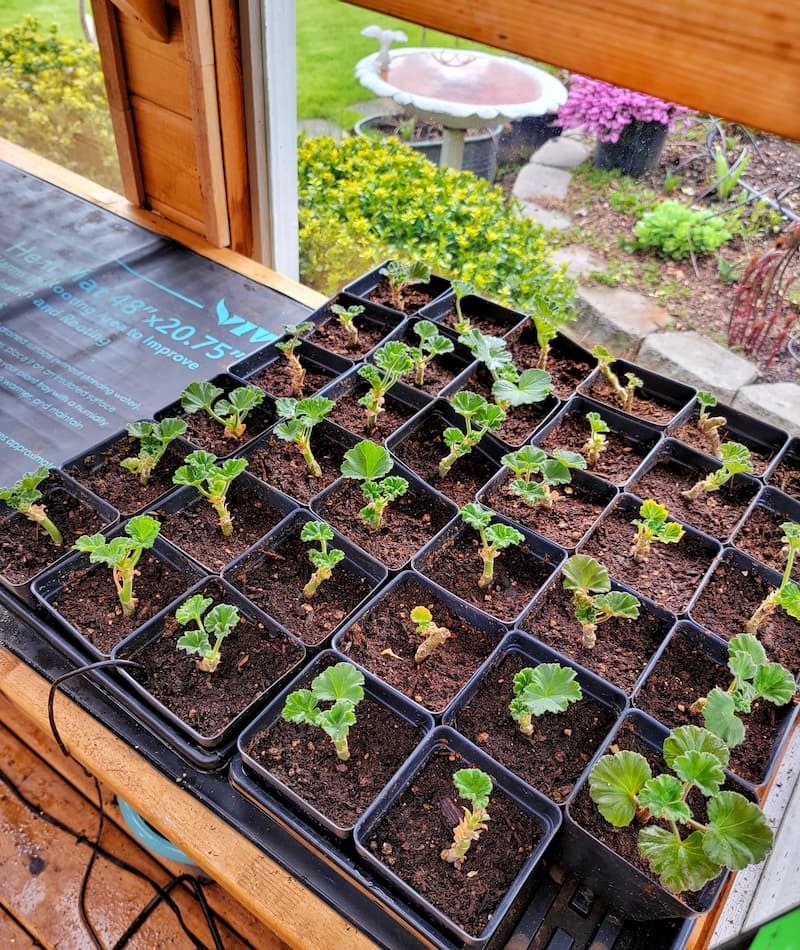
To successfully plant a geranium cutting, begin by selecting a healthy stem from an existing plant. Ensure it's at least 4-6 inches long and has several leaves. Remove the lower leaves while leaving a couple of leaves at the top, as this helps the cutting focus its energy on root development. Dip the cut end in rooting hormone to encourage faster growth, then plant it in a pot filled with sterile potting mix or a blend of perlite and peat moss to enhance drainage. Water the cutting thoroughly, allowing it to settle, and place it in a warm, indirectly lit area to help it root. Keep the soil moist but not overly wet, and in a few weeks, you should see new growth, indicating that your cutting has successfully rooted.
Selecting the Right Cutting
Choosing the right cutting is crucial for successful propagation. Look for a healthy stem that is free from diseases and pests. Ideally, the stem should be about 4-6 inches long and taken from the tip of the plant, as this part is more likely to root successfully. Make sure the cutting has at least two or three leaves, which will provide the necessary energy for the new plant once it begins to root.
Preparing the Cutting
Once you've selected your cutting, it's important to prepare it properly. Use a clean, sharp cutting tool to snip the stem at a 45-degree angle, which increases the surface area for rooting. Remove any leaves from the lower part of the cutting to prevent rot when planted. Optionally, apply a rooting hormone to the cut end, as it can significantly enhance the speed and success rate of root development.
Choosing the Right Soil
For optimal growth, the type of soil you use is essential. A well-draining potting mix is ideal for geranium cuttings. You can use a commercial potting soil or create a blend that consists of equal parts peat moss and perlite, which ensures that moisture is retained without waterlogging the roots. This soil mix helps to promote healthy root growth by providing the right moisture levels and aeration.
Watering and Caring for the Cutting
After planting your geranium cutting, it's critical to monitor its watering needs. Keep the soil moist, but avoid overwatering, which can lead to root rot and other problems. A good practice is to water lightly every few days or whenever the top inch of soil feels dry. It's also beneficial to cover the cutting with a clear plastic bag or a humidity dome to maintain moisture while allowing for air circulation, as this can encourage faster rooting.
See also:
Transplanting the Rooted Cutting
Once the cutting has rooted, usually in two to four weeks, it’s time to transplant it into a larger pot. Carefully remove the rooted cutting from its initial container, handling it by the base to prevent damage to the delicate roots. Choose a slightly larger pot with drainage holes and fill it with a quality potting mix. Plant the rooted cutting at the same depth it was originally, then water it well to help settle the soil around the roots. After transplanting, place the pot in a bright location, avoiding direct sunlight until the plant acclimates.
| Step | Details |
|---|---|
| 1 | Select a healthy cutting of 4-6 inches. |
| 2 | Prepare the cutting by trimming and removing lower leaves. |
| 3 | Use well-draining soil for planting. |
| 4 | Water lightly and keep humidity high. |
| 5 | Transplant once roots are established. |
Can you put a geranium cutting straight into soil?
Yes, you can put a geranium cutting straight into soil, but it's important to follow a few steps to ensure successful rooting and growth. Geraniums are quite resilient and can thrive when properly propagated. Here are some essential considerations and steps to take when planting geranium cuttings directly into soil.
Steps for Preparing Geranium Cuttings
Preparing your cuttings is crucial for successful propagation. Follow these steps:
- Choose a healthy geranium plant: Select a vigorous, disease-free plant.
- Take a cutting: Use sharp scissors to take a 6 to 8-inch cutting from the tip of a stem.
- Remove lower leaves: Strip off any leaves from the bottom half to prevent decay.
- Let it callus: Allow the cut end to dry for a few hours to form a callus, which helps prevent rot.
Choosing the Right Soil
The soil you use can significantly impact the success of your geranium cuttings. Consider the following:
- Use well-draining soil: A mix of potting soil and perlite or sand promotes good drainage.
- Avoid heavy soils: Heavy soils can retain too much moisture, leading to root rot.
- Consider rooting hormone: Applying rooting hormone to the cutting can promote faster root development.
Watering Techniques
Proper watering is essential for your cutting's success. Think about these points:
See also:
- Water immediately after planting: Moisten the soil thoroughly to promote adherence and hydration.
- Maintain consistent moisture: Keep the soil evenly moist, avoiding both sogginess and dryness.
- Use a spray bottle: Mist the cutting and surrounding soil to maintain humidity without overwatering.
Light and Temperature Requirements
After planting, providing the right light and temperature is important:
- Indirect bright light: Place your cuttings in a location with indirect sunlight to avoid burning.
- Maintain warmth: A temperature range of 65°F to 75°F (18°C to 24°C) is ideal for rooting.
- Humidity is key: Increasing humidity, such as using a plastic bag or dome, can help retain moisture.
Timing for Transplanting
Once your cutting has rooted, determining the right time to transplant is crucial:
- Check for roots: Ensure the cutting has developed ample roots by gently tugging on it.
- Wait for at least 4-6 weeks: This period often allows for adequate root growth before transplanting.
- Transplant when stable: Move your cutting to a larger pot or garden bed once it shows signs of new growth.
Questions from Our Readers
What materials do I need to plant a geranium cutting?
To successfully plant a geranium cutting, you will need sterile potting soil, a pot with drainage holes, and optionally, a rooting hormone to help the cutting establish roots more quickly. Additionally, you may want to have water for hydration and a plastic bag to create a humid environment around the cutting.
How do I prepare the geranium cutting for planting?
To prepare the geranium cutting, you should select a healthy stem that is about 4–6 inches long, and make a cut just below a node. Remove any lower leaves to prevent them from rotting in the soil, and if using rooting hormone, dip the cut end into the hormone before planting it in the potting soil.
How much water should I give my geranium cutting after planting?
After planting the geranium cutting, it’s important to water it lightly, ensuring the soil is moist but not soggy. A good rule of thumb is to provide enough water so that it can drain from the bottom of the pot, but wait until the top inch of soil is dry before watering again.
How long does it take for geranium cuttings to root?
Geranium cuttings typically take 2 to 4 weeks to root, depending on the conditions you provide. This can vary based on factors such as temperature, humidity, and the type of geranium. During this time, keeping the cutting in a warm, bright location will help promote faster root development.
See also:

If you want to read more articles like Ultimate Guide on How to Plant a Geranium Cutting: Step-by-Step Instructions for Success, we recommend you check out our Planter category.
Leave a Reply
Related Articles